4 Ways To Create A Matte Effect in Photoshop
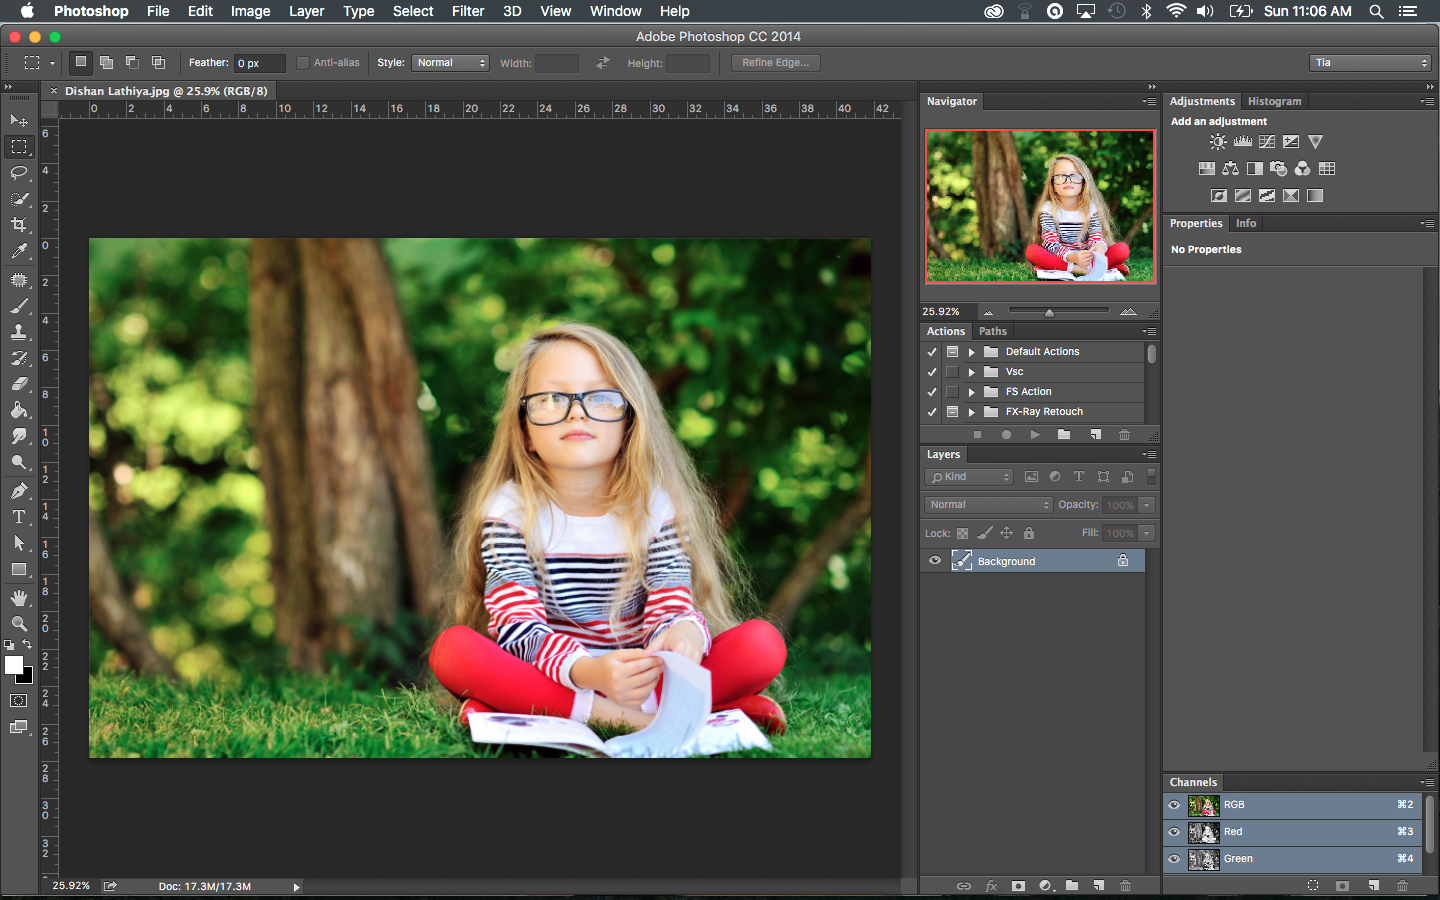
 As I’ll mention in many tutorials, there are so many ways to approach photo editing, photo retouching and photo effects. One popular photo effect right now is the Matte Photo Effect. Therefore, I thought it would be a great idea to show you guys four easy ways to achieve the Matte Effect for photos in Adobe Photoshop.
Exposure Adjustment Layer
- Open your image in Photoshop

- Add an Exposure Adjustment Layer.

- Push the Offset and Gamma Correction sliders to the right side of the slider bars, similar to the example below.

- Final Result:
Curves Adjustment Layer
- Open your image in Photoshop.

- Add the Curves Adjustment Layer.

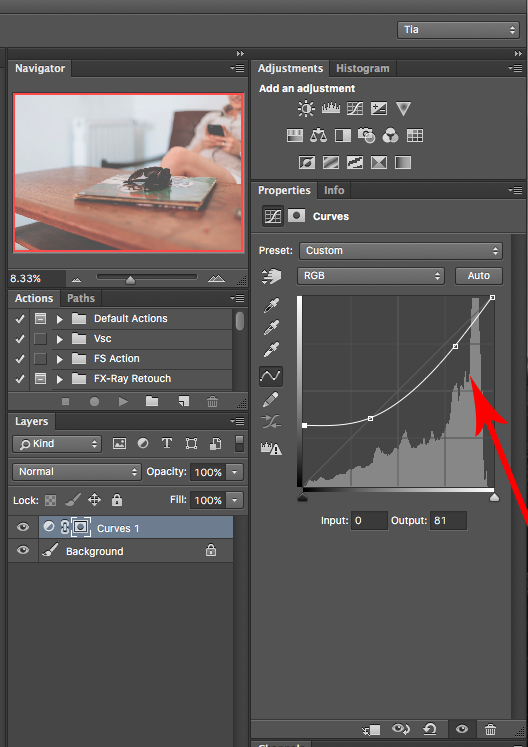
- Match your curves graph similar to the example below. Make sure Curves settings are in RGB.

- Final Result:
Levels Adjustment Layer
- Open your image.

- Add the Levels Layer Adjustment.

- Make sure the Levels settings are in RGB. Adjust the sliders similar to the example below.

- Final Result:
Solid Color Fill/Luminosity Blend
- Open your image.

- Add Solid Color Adjustment Layer, chose light grey color.

- Set the Solid Color Adjustment Layer’s blending mode to Luminosity

- Lower the opacity of this layer to around 25-45%

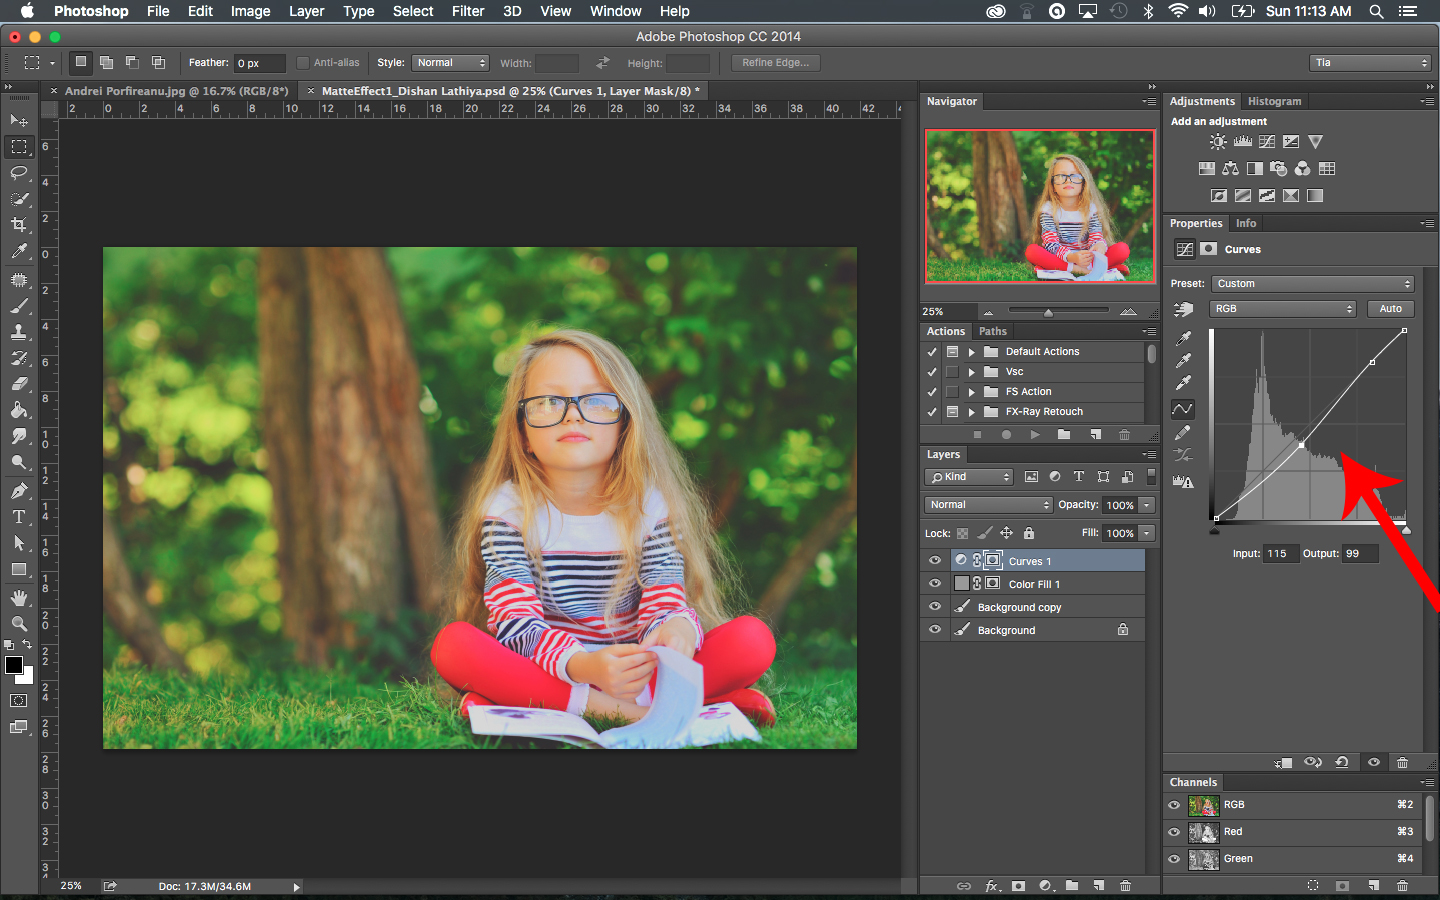
- Add Curves Adjustment Layer. Add some contrast, by adjust your curves similar to my graph below:

- Final Result:
Now you have four ways to approach the Matte effect in your photos. I encourage you to explore with these four methods and combine them if you would like. If you found this post helpful or want to share some tips and tricks of your own, please comment below or shoot me a message on my contact page! Make sure you share this post with your friends as well. Also, if you have practice work you want me to see, feel free to tag me to your posts on Facebook or Instagram.


