How to Create a 3D Effect in Photoshop
In this super easy tutorial, I will show you the step by step process to creating a 3D effect for your images in Adobe Photoshop. This can make an awesome effect for your creative projects. You can follow along with your own image, or use the image I used for the tutorial. You can download it here.
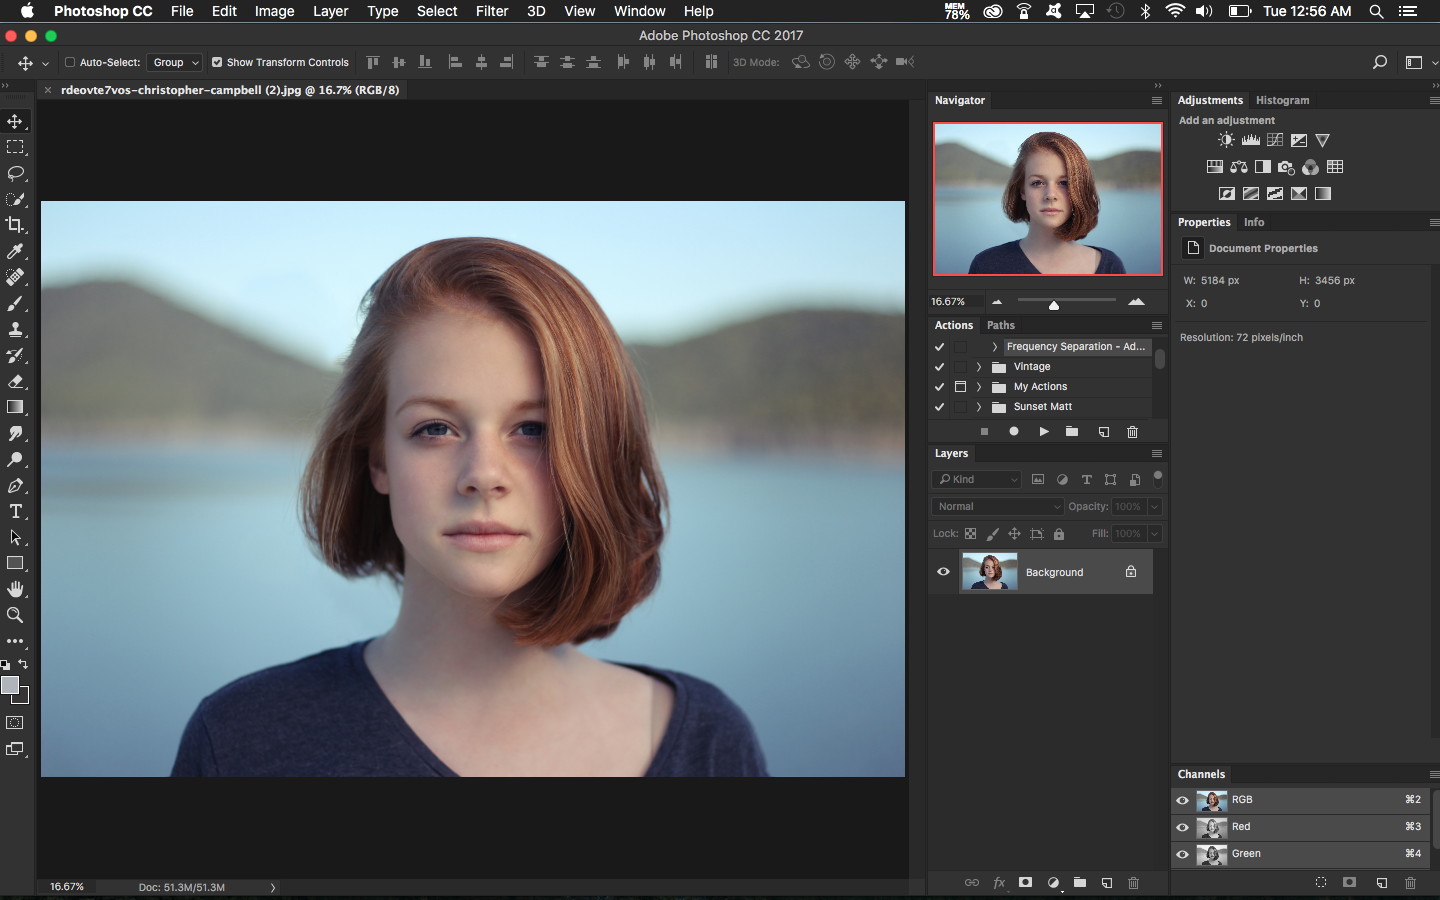
1. Open an image in Photoshop
2. Duplicate Background Layer
Duplicate by right clicking the background and selecting Duplicate. You can also use the keyboard shortcut Cmd+J to duplicate.
3. Select the Duplicate Layer and open Layer styles.
Open the Layer Style panel by double-clicking the Layer.
4. Uncheck the Red Channel. Press OK.
In the Advanced Blending section of the Layer Styles panel, uncheck the box next R (red channel). Click Ok.
5. Nudge the layer to show the effect.
With the top Layer selected use the Arrow Keys to nudge right or left multiple times to reveal the 3D effect.
All Done!
Now let see you try it with your favorite pic! Share your pic below in the comments. (works if you have a Disqus account)


