How To Easily Change Eye Color Photoshop
 As it is with every Photoshop trick, there are a variety of ways to change someone’s eye color in Adobe Photoshop. In this tutorial I will be showing you a quick and easy way to change eye color using Quick Selecting, Masking, and Using Adjustment Layers.
- Open your image in Adobe Photoshop.

- Duplicate the background image. We won’t be doing much with it, I have just always made it a habit to do this for the sake of non destructive editing.
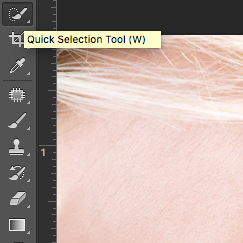
- Grab your Quick Selection Tool and select around the iris of the eye.
 The selection doesn’t have to be absolutely perfect because we can clean the mask up later. Just try to get it close.
- Once your selection is made, create a Layer Group.
 Rename your Layer Group.

- Then add a Layer Mask from the selection to the Layer Group.

- Next we’re going to want to clean up the mask. To do this, click on the Layer Mask Thumbnail and press the backward slash (\) on your keyboard to bring up the red Mask Overlay.Use a soft Brush to clean up the mask. Also, feather the selection some. For this image, I feathered it 2.5 px.

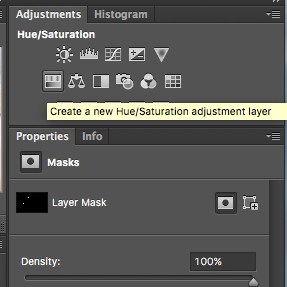
- Now add a Hue/Saturation Adjustment Layer under the Layer Group.

- Check the box next to Colorize and move the sliders to get the eye color you want. I tried to keep this one looking a little natural, but feel free to go as crazy with the color as you want.

- Make your final touches or clean up on the mask. Save your image and share your work!

Final Image
 Image Credit : Tom Merton
If you enjoyed this tutorial or want to share some tips and tricks of your own, please comment below or shoot me a message on my contact page! Make sure you share with your friends as well. Also, if you have practice work you want me to see, feel free to tag me to your posts on Facebook or Instagram. Thank you!
