How to Create a Vintage Grain Effect in Photoshop

If you like vintage film looking photos then this is the tutorial for you. In this tutorial, I will show you how to create a Vintage Grain Effect in Adobe Photoshop. This tutorial is fairly simple if you have some familiarity with Photoshop interface and tools. I will begin this tutorial with created a grainy layer with the Noise Filter, creating a Matte Effect with the Curves Adjustment Layer, and creating vintage color tones with the Color Balance Adjustment Layer. So let's get started!
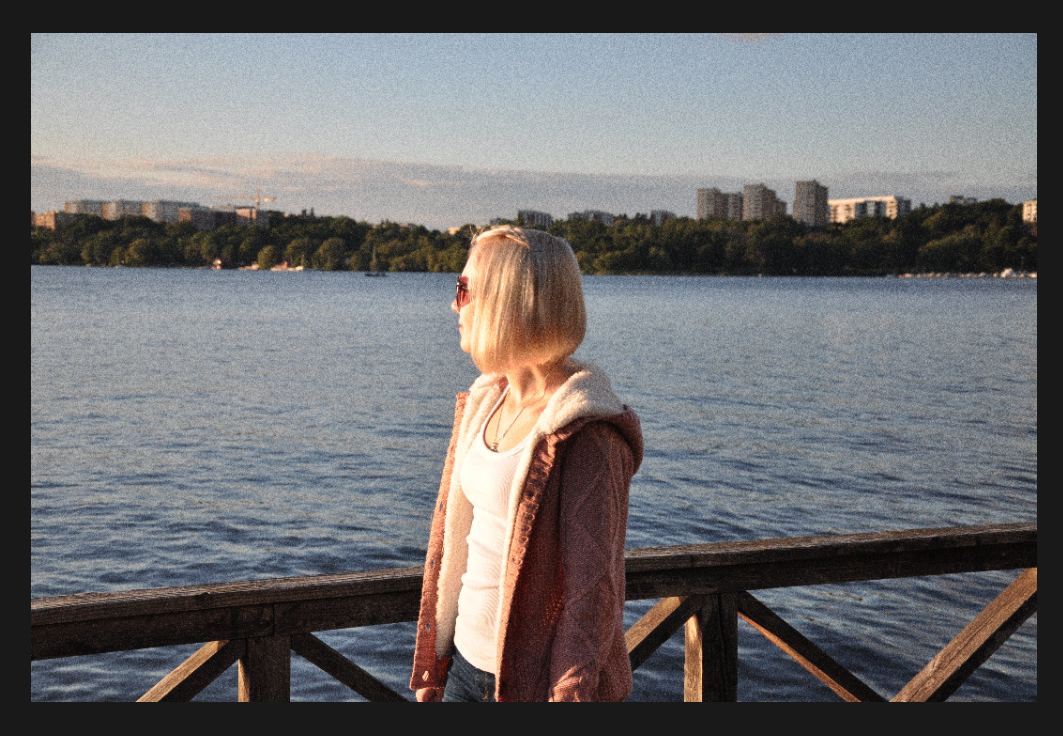
1. Open Your Image
I used this image from Unsplash by Tatiana Lapina. You can download it here.

2. Duplicate the Background Layer.

You can do this by right clicking the background layer and selecting Duplicate Layer or use the shortcut CMD+J.

3. Add Solid Color Adjustment Layer. Choose a Grey Fill.
4. Select the Solid Color Layer. Go to Filter> Noise> Add Noise…
When you do this, a dialogue box will appear asking if you would like Rasterize this layer or Convert to Smart Object. If you rasterize the layer then it will no longer be an Adjustment Layer, and you won't be able to change the solid color easily. If you convert to Smart Object you will still be able to adjust the Solid Color easily. For this particular effect, I don't see a reason to make it a smart object; so I chose to Rasterize it. If you want to be able to change the Solid Color easily then you can Convert to Smart Object. This option is up to you.


5. Make noise amount to about 100%. Check Gaussian and Monochromatic. Press OK.
Choosing Uniform or Gaussian is another preference based thing. I often chose Gaussian for creating grain.

6. Change Blending Mode to Soft Light.
Once you change your Blending Mode to Soft Light your image will have a nice grainy look to it (see the image below for result). If you want you can adjust the opacity of the Grain Layer.
Quick Tip: Want to soften the Grain? Select the Noise Layer and then go to Filter> Blur> Gaussian Blur

7. Add a Curves Adjustment Layer. Adjust the curves to create a matte feel to the image.
You can create the Matte Look in a variety of ways. With Curves Adjustment Layer, move the Anchor Point from the far left upward to create a Matte Effect. Create and adjust additional anchor points to create a deep matte look or low contrast look. (see image below for result)
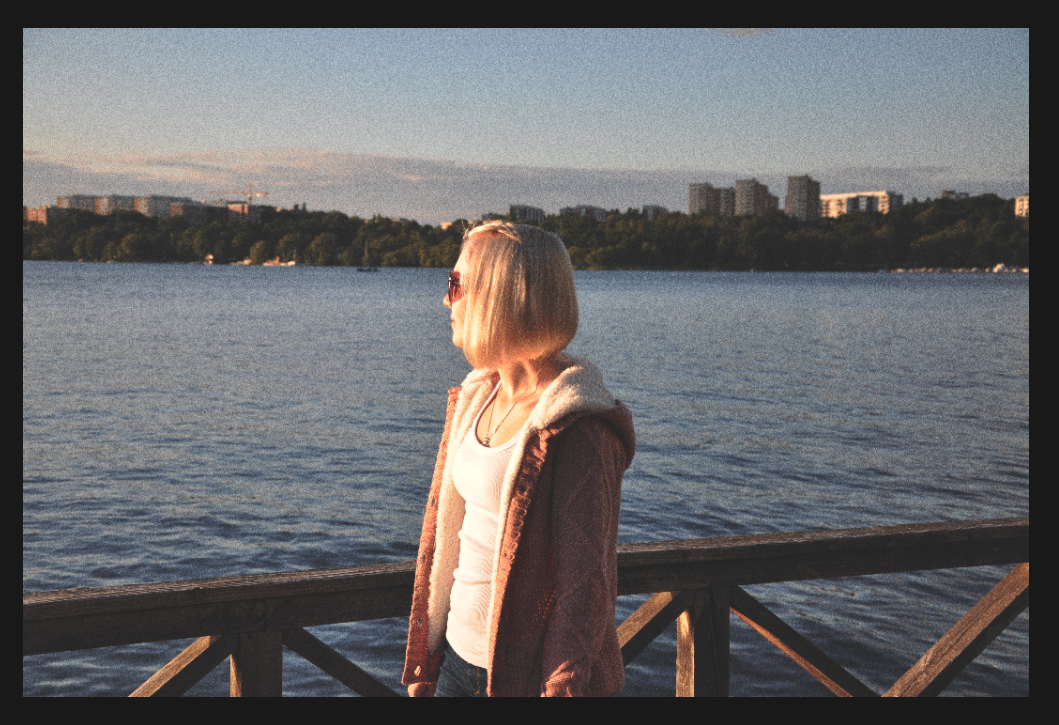

8. Adjust the Color Tones with a Color Balance Adjustment Layer to add a more vintage look to the image.
The Color Balance Adjustment Layer is a great easy way to play with color tones in an image. Here I wanted to create a warmer vintage look so I added more Red and Yellow to this image. (see image below for result)
Play around with the Midtones until you get a vintage look you like.

Check out the before and after!

Alright, since we're all done here; I would love to hear if you found this tutorial helpful. Are there any other techniques you like to use for vintage looks? If so, I would love for you to share. Also, if you tried it on the stock image I used or your own image, feel free to share the before and after of your work in the comments below! Happy Retouching!