How To Quickly Retouch Skin in Photoshop
Skin retouching is an essential skill that most photographers and retoucher strive to master. Why is that? Because most people want their skin to appear in its best condition when they are photographed. This can vary depending on each client/art directors specific needs and preferences. Some want the skin to remain realistic while other want the skin to look completely different and sometimes plastic. However, in general, it is best to approach skin retouching with realistic looking results in mind. Unless you are retouching something for fine art purposes, most clients and viewers prefer to see realistic skin with some imperfections. Removing all imperfections or facial features such as permanent scars, beauty marks, moles, birthmarks, etc; can be very insulting to the person in the picture, unless they specifically requested it. When retouching skin its best to remove imperfections such as pimples, small scratches, temporary scars, stray hairs, makeup smudges, and other temporary distractions.
In this Photoshop tutorial, I will show you one of many simple retouching techniques for those who are beginners in photoshop or those looking to make quick skin fixes to an image. I will walk you through setting up a retouching layer and editing imperfections on this layer with healing brush and clone stamp tool.
Open your image in Photoshop.
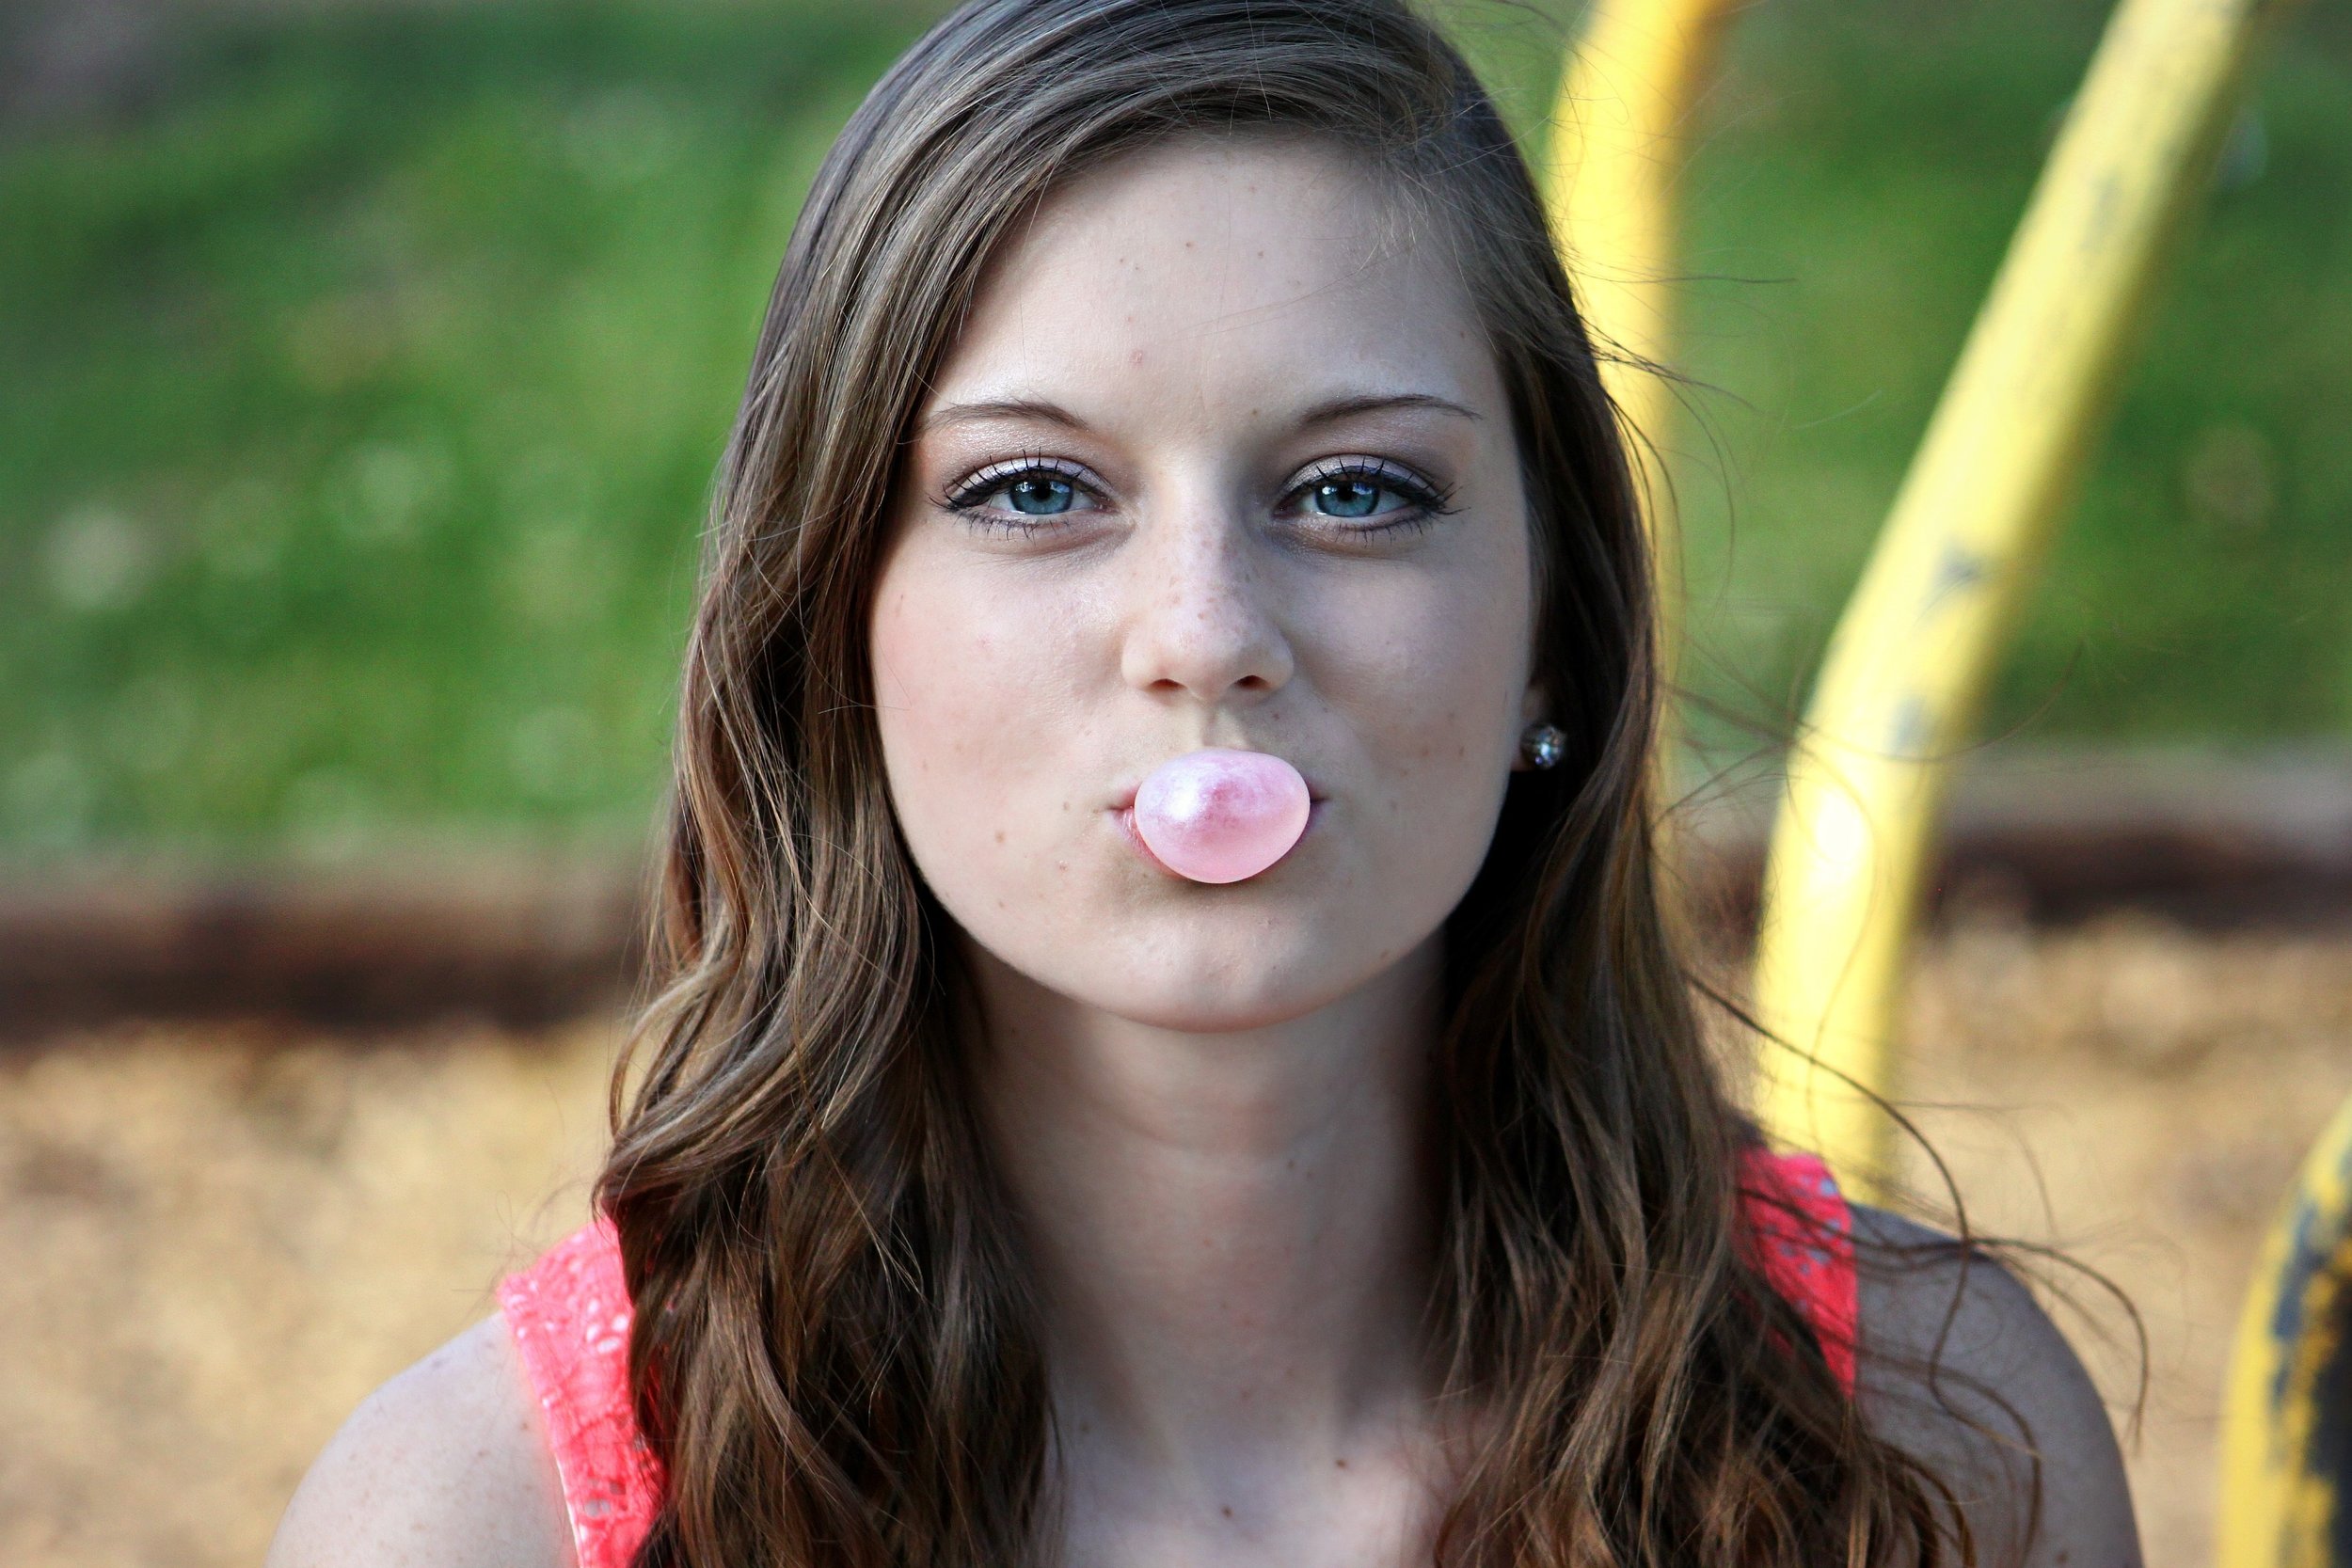
You can follow along with your own image or with the stock image I’m using. To download the image in this tutorial, go here.
Create a New Layer above the Background Layer.
- In the menu bar, go to Layer > New > Layer. Or you can click the New Layer Icon at the bottom of the Layers panel.
- Rename it to Retouch. (You can also name it to heal, any other name you’d like, or just leave the name as is)


Go to the layer you want to duplicate, Right click > select Duplicate Layer.
Tip: It’s a good habit to duplicate the background layer at the beginner of every project for nondestructive purposes. I try to remember to do this, but I forget all the time :)
Use Healing Brush tool or Clone Stamp Tool To Remove Blemishes
Make sure the Retouch Layer is selected. And when using either tool make sure you set the Sample setting to Current & Below in the Options Bar.

Healing Brush Method:
- Select the Healing Brush ( Hit J twice on your Keyboard)
- Find the blemish you want to remove.
- Sample from a nearby area on the skin that does not have a blemish. To sample hold down Alt + Click on the skin area.
- Tap over or paint over the blemish area.

Sampling and retouching with the Healing Brush Tool.

Clone Stamp Tool Method:
- Select the Clone Stamp Tool (Hit S on you Keyboard)
- Set its opacity to 25% (you can go lower higher depending on the situation)
- Find the blemish you want to remove.
- Sample from the nearby area that does not have a blemish. To sample hold, Atl + Click on the skin area.
- Paint over the blemish area until gone.
Repeat these techniques as needed as your continue your retouching process. Sometimes I’ll use only one of these methods for a quick retouch project or a combination of both. Practice with both and get a feel for what works best for you.

Sampling and retouching with the Clone Stamp Tool.
My Final Result:

In this photo, I retouched the skin, added burning and dodging to the image, and make color corrections. Stay tuned for tutorials on burning and dodging, and color corrections!
So, did you find this technique useful or is there another way you like to retouch skin? Also, is another retouching you would like for me to make a tutorial on? I would hear about it in the comments. Also, if you followed along, feel free to show a Screenshot or JPEG of your results in the comments below. If you want me critique it or make suggestions, just put "CC (Constructive Criticism) please" in your comment. Happy Retouching!!!