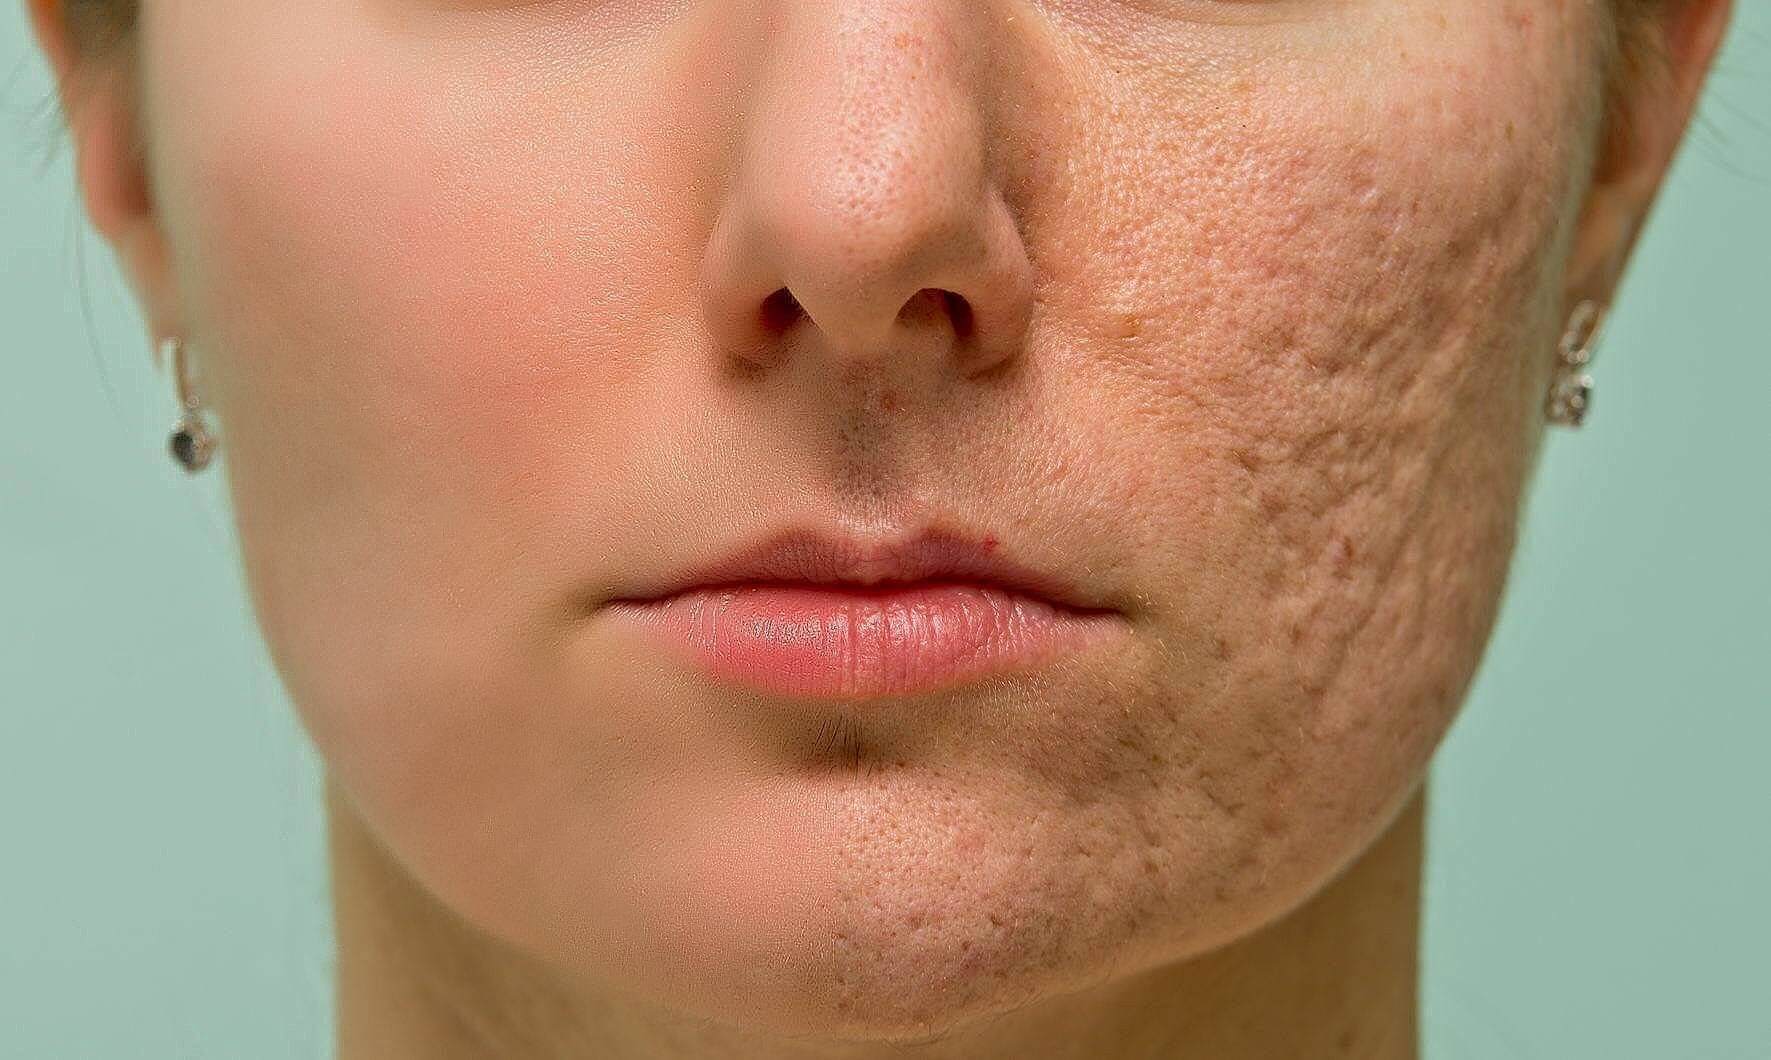
How To Retouch Bumpy Skin and Retain Texture
This is an interesting tutorial that many may find pretty helpful. Most retouchers, photo editors, or photographers will come across a retouching assignment with rather difficult skin. Bumpy skin such as the skin in this video, can be very intimidating for multiple reasons. There are two main roadblocks I would identify when retouching an image such as this one:
- How much of the skin does the client want retouched? Do they want the skin to remain mostly the same or change drastically?
- If drastic change, how am I going to edit this skin with out loosing all texture?
In this video, 1px vn walks us through how to retouch tricky, bumpy skin while maintaining the skin texture. However, it's a little difficult for me to break down how he is going about the retouching by just watching the video. Since, he's using actions that appear to created by himself; this tutorial becomes more of a walkthrough of how to use his actions which are available here. It appears that the actions are contain some sort of frequency separation-like steps; which are simplified through using layer masks to uncover where the user wants the actions to work. If any of you try his technique with this Photoshop actions; I would love to hear how it worked for you and how you think the action works in the comments below.
So tell me what you think...
- Have you come across a retouching assignment with bumpy skin or with similar difficulty?
- If so, how what techniques did you use? Did you do something similar to this walkthrough?
- Did you use the actions available on the Youtube page of this walkthrough? Did they work well?
If you find this technique interesting or useful, you should totally share it with your creative network! Also, make sure you stay connected with Retouching Blog on social media! Follow us now on Facebook, Instagram, Tumblr, Twitter, and Pinterest! Also feel free to use the #retouchingblog in your relative postings!
